Device Firmware Upgrade is the acronym for DFU Mode. In this mode, your iPhone, iPad, and iPod can only communicate with iTunes via your PC and receive commands from it. (A simple tutorial on how to enter and exit DFU Mode on your iOS device is provided here.)
In this post, we'll cover two methods for restoring an iPhone from DFU mode, one of which will result in data loss and the other of which will safeguard your data and stop data loss.
To change, upgrade, or downgrade the firmware on their iPhone, iPad, or iPod is known as an iPhone DFU restoration.
Now that we have that out of the way, let's learn more about how to restore an iPhone from DFU Mode both with and without the aid of iTunes.
Restore iPhone, iPad, and iPod from DFU Mode in Part 1 with iTunes (data loss)
Part 1: Restore iPhone, iPad, and iPod without iTunes from DFU Mode (no data loss)
Restore iPhone, iPad, and iPod from DFU Mode in Part 1 with iTunes (data loss)
Apple Inc. created iTunes specifically to handle iPhones, iPads, and iPods. Many people like it better than other software for managing their iOS devices and the data they store on them. Therefore, we frequently rely on iTunes for the same when it comes to iPhone DFU restoration.
If you want to use iTunes to restore your iPhone, iPad, or iPod from DFU Mode, carefully follow the instructions below.
Note: Although this method of recovering your iOS device from DFU Mode using iTunes is quite simple, data loss is possible. So please think carefully before considering adopting this strategy.
Step 1:Turn it off and connect your iPhone, iPad, or iPod to your PC, where the most recent version of iTunes has already been downloaded and set up.

Step 2: Press and hold the Home button until the DFU Mode screen appears on the iPhone, iPad, or iPod, as shown in the screenshot below. Release the Home button after that.

Step 3: iTunes will automatically launch and find your iPhone, iPad, or iPod in DFU Mode. You will also see a message on the device's screen. Click "Restore iPhone" and then "Restore" again on the pop-up message, as shown in the screenshot below.

So that's it. Your iPhone will restart immediately after being restored from DFU Mode. However, as mentioned above, this method will erase all of the data stored on your iPhone, iPad, or iPod. Yes, you heard correctly. Data loss occurs when using iTunes to perform an iPhone DFU restore, however you can restore the lost data from an earlier iTunes/iCloud backup.
However, we have another fantastic and effective solution for you to restore DFU Mode that doesn't result in any data loss and gets the job done in a matter of seconds.
Part 2: Restore iPhone, iPad, and iPod without iTunes from DFU Mode (no data loss)
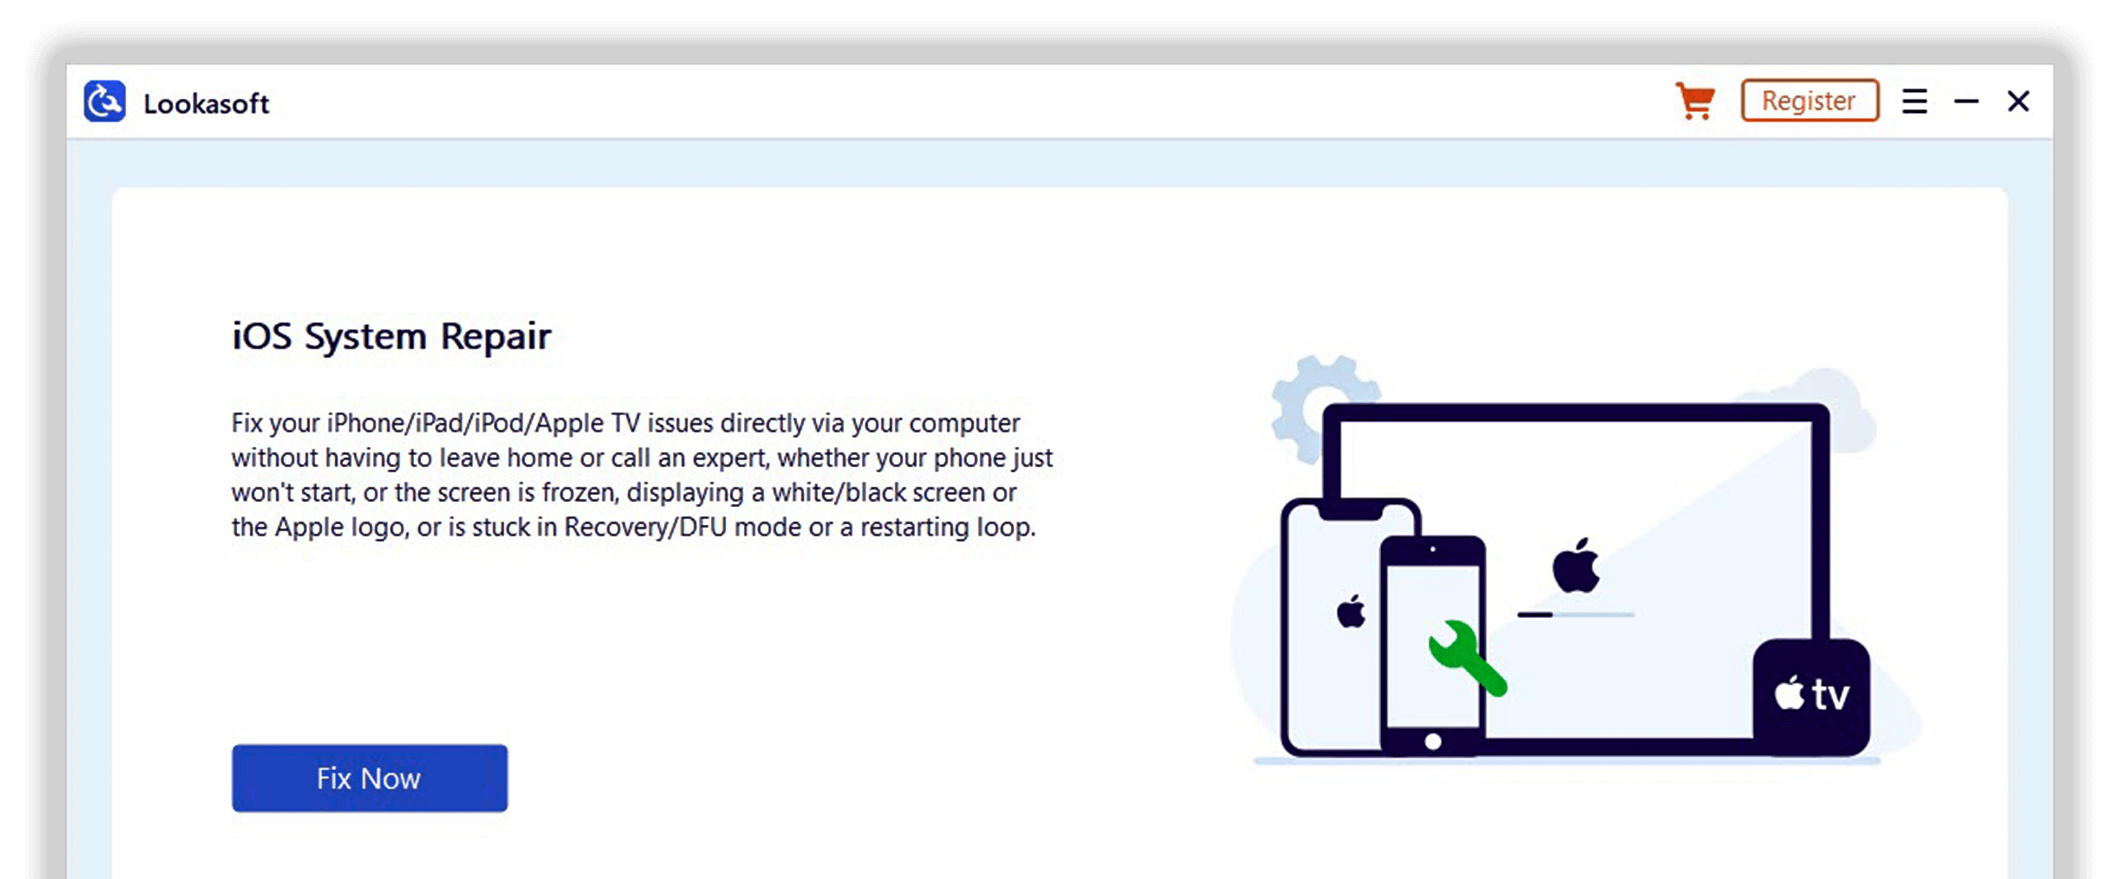
Here's how to restore your iPhone without losing any data using DFU mode. Any form of iPhone/iPad/iPod system error can be fixed with Lookasoft iOS System Repair, returning your device to its pre-fault condition. Lookasoft iOS System Repair can cure your iOS device whether it is in DFU Mode, at the Apple logo, or has a black/blue/frozen screen. The best part is that there is no chance of losing your important data.
Lookasoft iOS System Repair promises a quick and secure system recovery in simple, understandable steps.
iPhone stuck in DFU mode fixed without data loss using Lookasoft iOS System Repair!
Let's examine how to use System Repair to restore an iPhone from DFU Mode in order to avoid data loss:
Step 1: On your Windows computer, download and install the Lookasoft iOS System Repair software.
Step 2: Connect your iPhone, iPad, or iPod to your PC now. Hit "Standard Mode" when Lookasoft iOS System Repair has recognized the device.

Step 3. If your iPhone is already in DFU Mode at this step, you will be moved on to the following one. If not, you can use the steps listed below to put your iPhone, iPad, or iPod into DFU Mode.
Step 4: You must now download the best firmware for your iPhone, iPad, or iPod. To do this, enter the information for your iOS device and firmware version as displayed in the screenshot below. Once you've completed all the fields, click "Start" and wait for Lookasoft iOS System Repair to begin downloading the firmware to your iOS device.

Step 5. You can now monitor the firmware download status on the Lookasoft iOS System Repair interface as shown below. Avoid disconnecting your device or clicking "Stop" since this will cause the firmware download to be interrupted.
Step 6: Once the download is done, Lookasoft iOS System Repair will start putting the firmware on your iPhone, iPad, and iPod. Your iOS device can also be repaired using this method. Wait patiently and keep your iPhone, iPad, or iPod connected during this process, which could take up to a few minutes.
Step 7: When Lookasoft iOS System Repair is done restoring your iPhone, iPad, or iPod, a message will appear on the screen saying that the operating system on your iOS device is up to date and fixed. Additionally, the home screen or lock screen will automatically boot up on your iOS device.
Pretty basic, yes? As we already indicated, using Lookasoft iOS System Repair is very easy Phone from DFU Mode have become simple yet effective chores.iPhone from DFU Mode chores have become simple yet effective. With the help of Lookasoft iOS System Repair, DFU Mode restoration and figuring out how to restore an iPhone from DFU Mode are now easy tasks that work well. Users and industry experts from all over the world agree that Lookasoft iOS System Repair Toolkit is the best iOS management software. We really want you to download it and put it on your PC as soon as possible.
Please let us know if you found this tutorial beneficial, and if so, please spread the word to your friends and family.